Part II - An image is worth a thousand megabytes
Part III - A post-mortem
My late Christmas gift (from me to myself) arrived on Monday, and it is a little Raspberry Pi. If you're not familiar with it (and you should be), it's a tiny board which contains everything a computer needs to run (or, as I explained to my perplexed mother, "it has everything a computer need to be a computer").
I won't go over the process of acquiring one, which is not as simple as it may seem, if you live in Brazil. I'll skip to the part just after you console yourself for paying the rough equivalent of 85 dollars, or 242% the original price (of course this includes shipping, but it still is absurd).
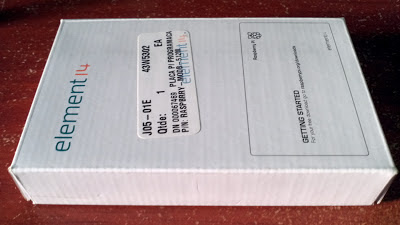
So, if you survive that step, you'll get this pretty box:
And inside it...
Prelude
If you're reading this before actually buying it, or before it arrives (and that is a smart thing to do), you'll probably want to get everything prepared so you can start working as soon as you get your hands on it. Here are the things you absolutely need to get started:
- SD card: this is where all the files are stored. If you'll be using Raspbian (and if you don't know what that is, it probably is what you'll be using), the card must be at least 2GB large. The size really depends on what you plan to do with it, but 8 GB and 16 GB suit most of the needs. If you don't want to buy it right away, you can use any SD card you have laying around, like those used in cameras.
- Power supply: this is the most delicate component. If you look at the Quick Start Guide, the Pi requires a "[...] good quality, micro USB power supply that can provide at least 700mA at 5V.". Depending on where you live, this may be easier or harder to find (apparently, I live in the hardest place on Earth). Remember to get the voltage right, but what's important is that 700mA is the minimum required for the Raspberry. If you want to plug other devices that need power supply to it, you're probably going to need more power. I was really lucky that my Motorola cell phone charger meets almost exactly the requirements (check the picture on the right).
- HDMI (or RCA) cable: in order to plug it to a monitor or TV, you'll need a HDMI cable. These can be found on any decent electronics store. Alternatively, you can use the RCA port to connect to older devices.
- USB keyboard: any keyboard with a USB cable will do. A mouse is not strictly necessary, but if you like, you can use any one with a USB cable.


